
How to Flush DNS Cache On Different Devices Like Windows, Mac, Linux
This tutorial will discuss how to flush DNS on various platforms Like Windows, Mac, Linux etc.
At the end of this guide on how to flush DNS, we hope you can find out:
- How to Flush DNS on Windows.
- Activate the Windows command prompt console.
- DNS flush.
- How to Flush DNS on Linux, depends on the OS used.
- Ubuntu Linux.
- Other Linux distributions.
- How to Flush DNS on Mac, depending on the OS version used.
- Mac OS Sierra.
- Mac OS X El Capitan.
- Mac OS X Yosemite.
- Mac OS X Mavericks.
- Mac OS X Mountain Lion.
- Mac OS X Lion.
- Mac OS X Snow Leopard.
- Mac OS X Leopard and below.
DNS resolver cache that is never updated will only display incorrect information or errors when you want to access the website. This is due to changes in the DNS. Therefore, it is very important for you to know how to flush the DNS cache and resolve the issue easily.
How to Flush DNS Windows
First of all, we will discuss how to flush Windows DNS. The following methods you can use to clear the DNS cache in Windows XP; Vista; 7; 8; 8.1; 10
Step 1 – Activate the Windows command prompt console
Press the Windows + R key to open the Run dialogue box. Type the following command and click the OK button :
cmd
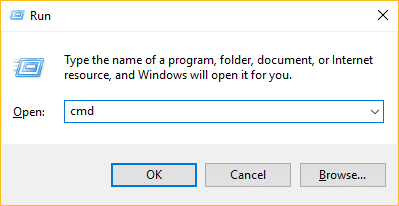
A command prompt window will open.
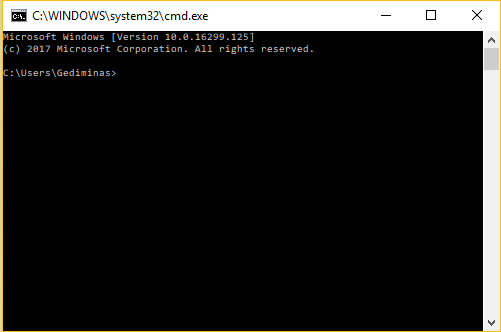
Step 2 – Flush DNS
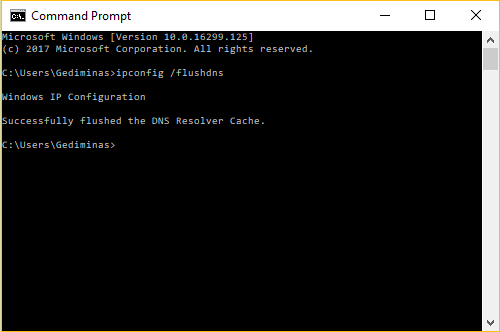
Use this command to clear the DNS resolver cache on your computer:
ipconfig / flushdns
Wait a minute and you will see a confirmation stating that the DNS resolver cache has been flushed.
How to Flush DNS on Linux
Clearing the DNS cache on Linux is not a difficult process. The syntax for DNS flush depends on what Operating System you are using.
-
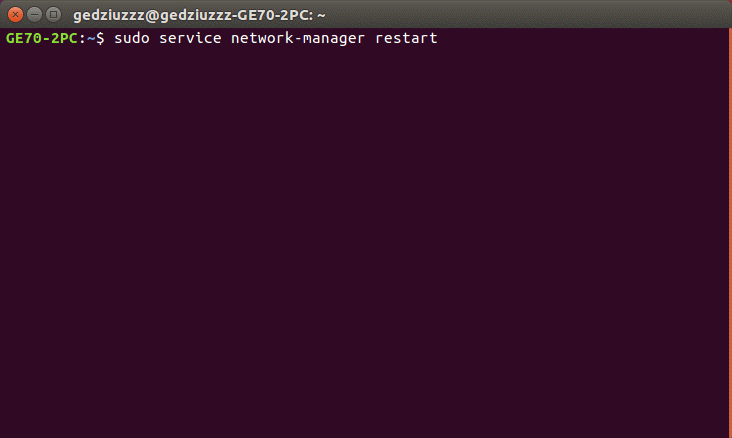
Ubuntu Linux
Open a terminal and run the following command:
sudo service network-manager restarts
-
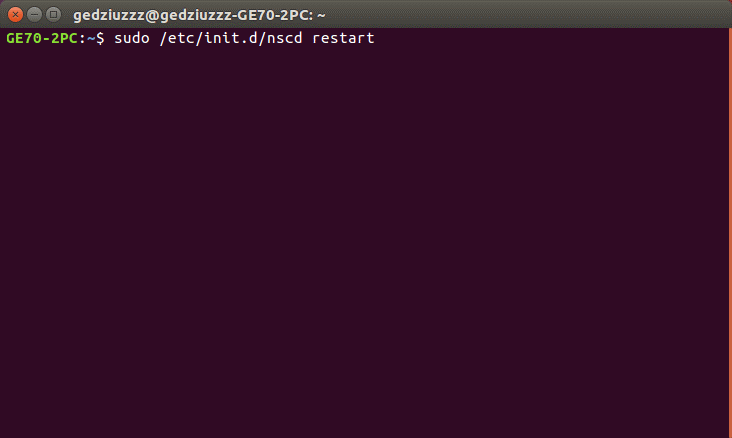
Other Linux Distributions
If you want to do other Linux distribution, then this command can be used:
sudo /etc/init.d/nscd restart
How to Flush DNS on Mac
The command to clear the DNS cache is different depending on the version of the Operating System you are using.
-
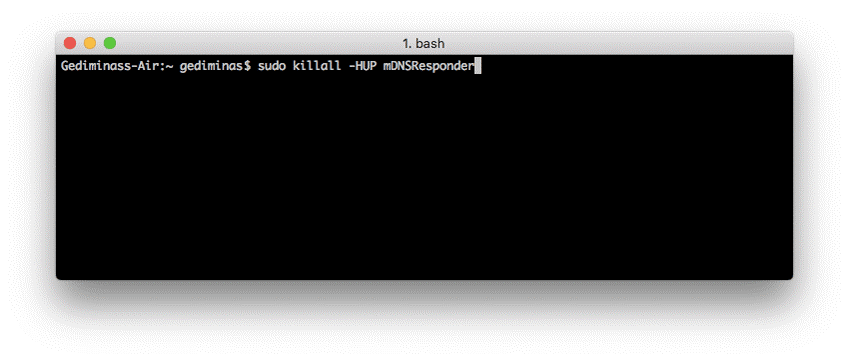
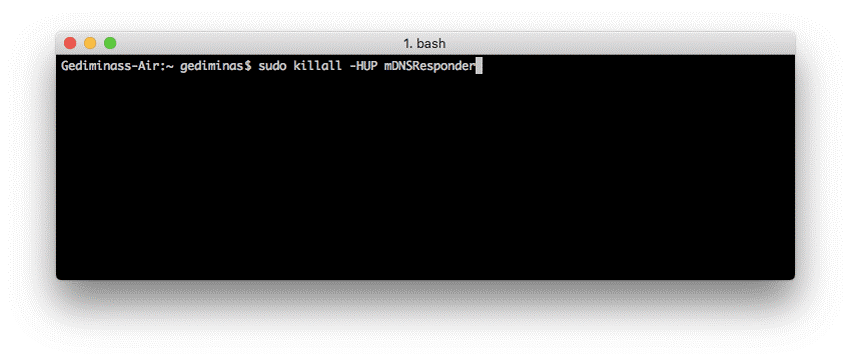
Mac OS Sierra
To flush DNS on the Apple OS version, open Application> Utilities> Terminal and enter this command:
sudo killall -HUP mDNSResponder

-
Mac OS X El Capitan
If you use this OS, the process required is the same. Open Application> Utilities> Terminal and enter:
sudo killall -HUP mDNSResponder

-
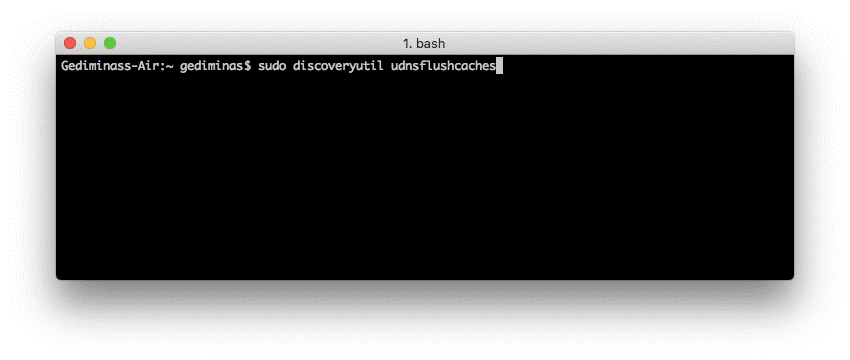
Mac OS X Yosemite
Clean the DNS cache on this OS by opening Application> Utilities> Terminal and entering:
sudo discoveryutil udnsflushcaches
-
Mac OS X Mavericks
To clear the outdated DNS cache, open Application> Utilities> Terminal and run:
sudo killall -HUP mDNSResponder
-
Mac OS X Mountain Lion
Users of this version of MAC OS can open Application> Utilities> Terminal and flush DNS with this command:
sudo killall -HUP mDNSResponder

-
Mac OS X Lion
Open Application> Utilities> Terminal using the following syntax:
sudo killall -HUP mDNSResponder
-
Mac OS X Snow Leopard
If you are using this version, open Application> Utilities> Terminal and enter:

sudo dscacheutil -flushcache
-
Mac OS X Leopard and below
Clean the DNS resolver cache on this OS by going to Application> Utilities> Terminal and entering:
sudo lookupd -flushcache
Conclusion
Now you already know how to flush DNS on Windows, Linux, and Mac platforms. Clean the DNS resolver cache by using the DNS flush command and make sure you have the latest entries. Keep in mind, the browser cache might also cause web pages to not display properly,